Search Knowledge Base by Keyword
RentPress Property Editor
RentPress Property Editor
The property editor consists of three tabs: Marketing, Info, and Floor Plans. In general, the Info tab will be filled in with data synced from your property feed. The Marketing tab houses fields where you can add additional content. The Floor Plans tab will list out information about this property’s floor plans.
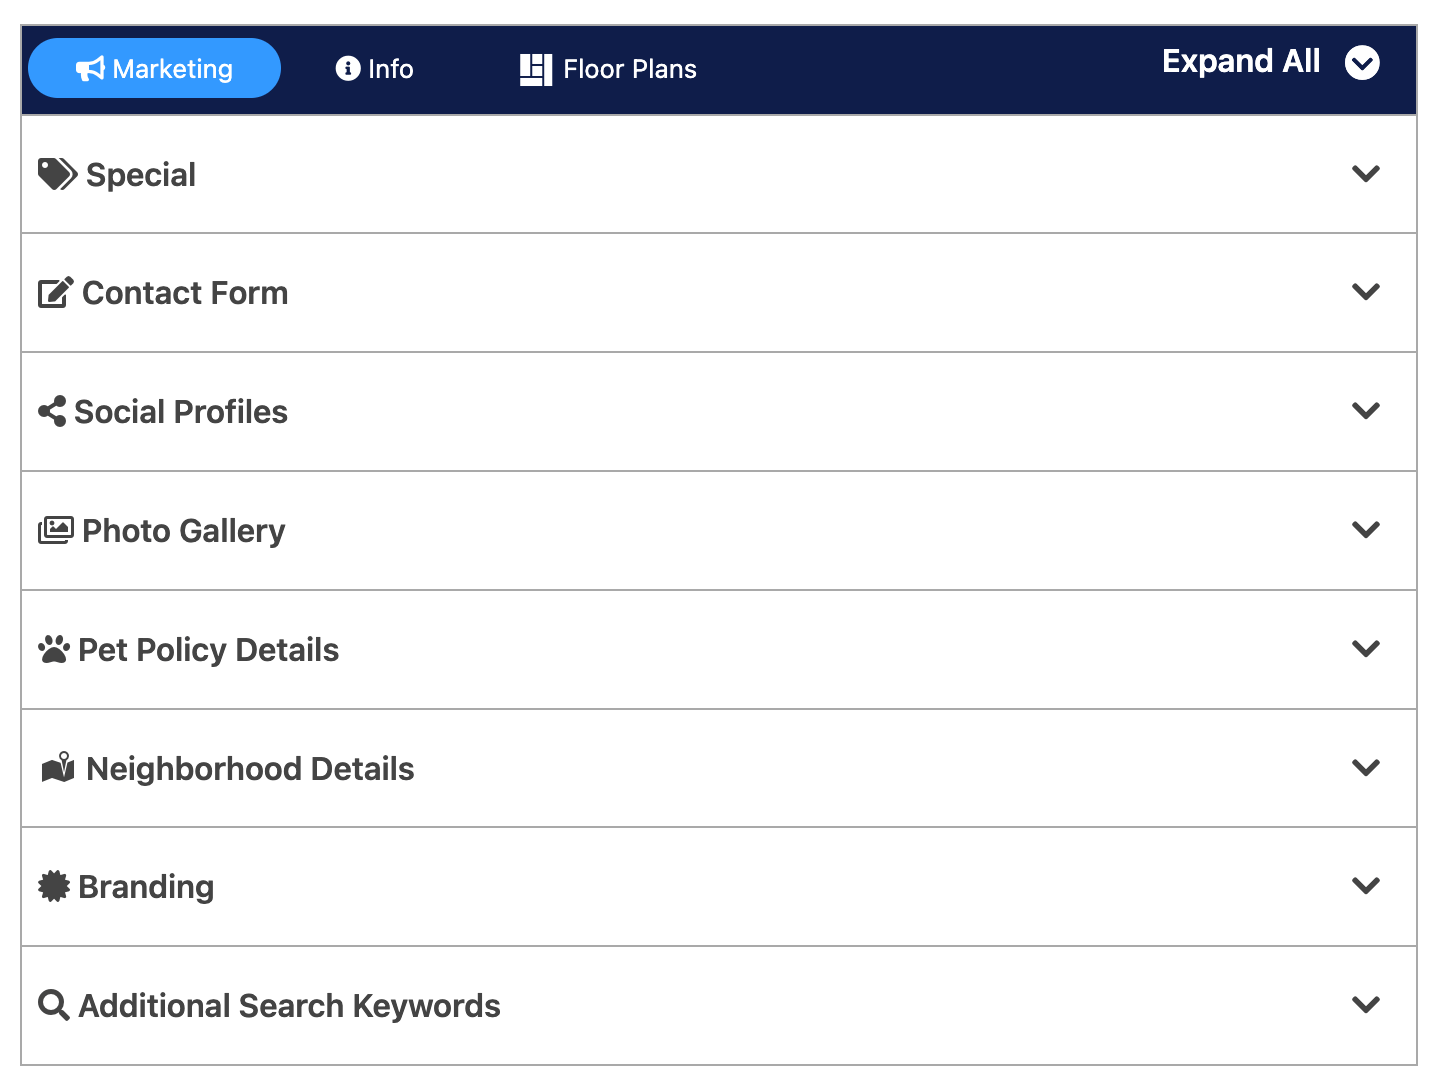 Additionally, you’ll find various WordPress data points of Amenities, Features, Cities, Pet Policy, Property Types, and Property Featured Image.
Marketing
Special
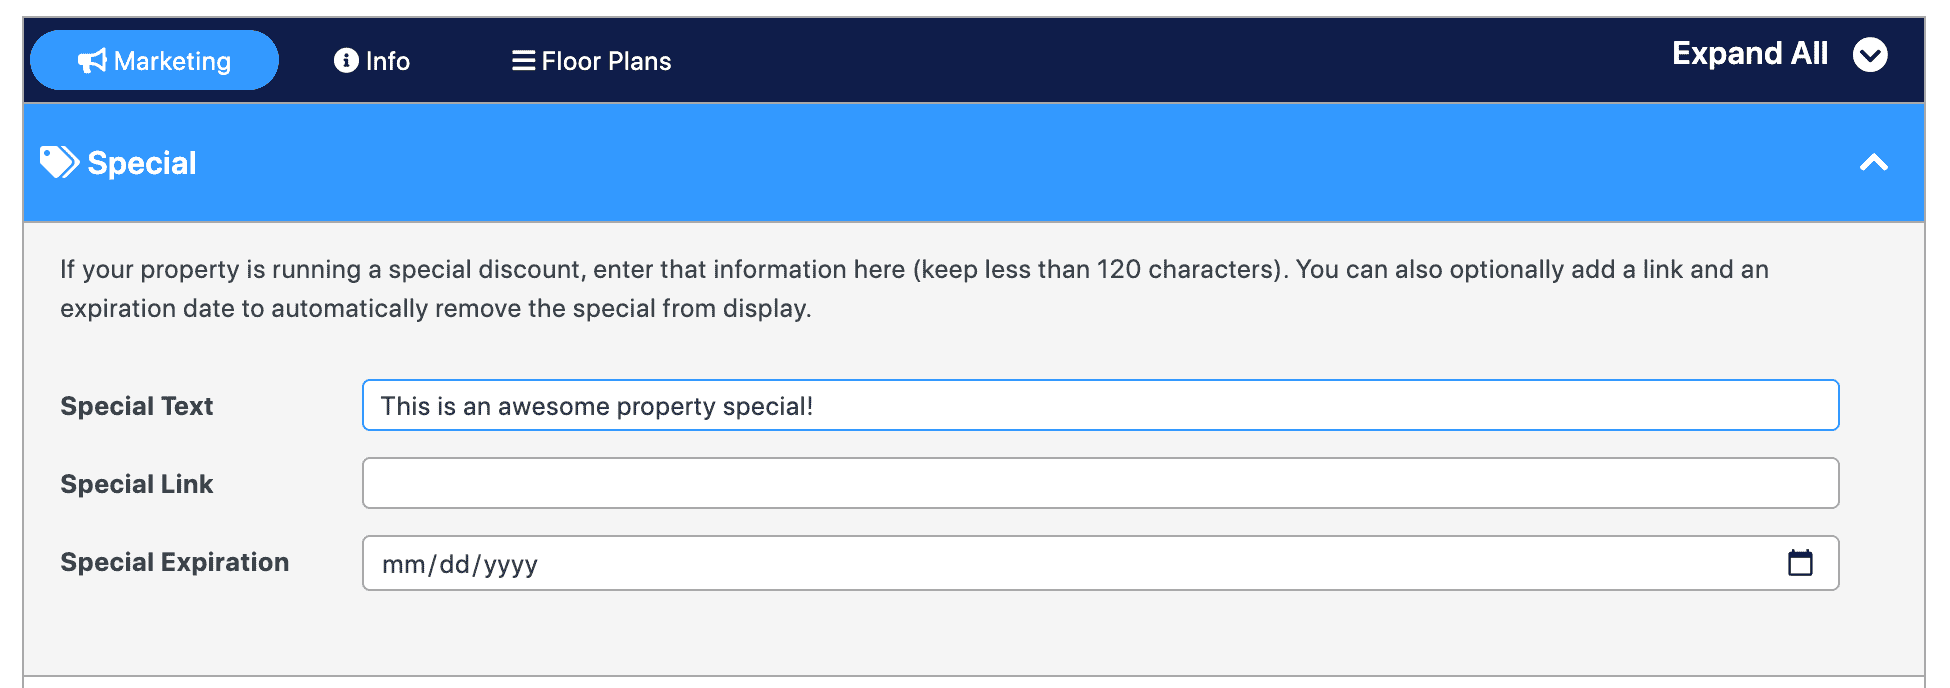
A banner will show at the top of your property’s listing page displaying the special you’ve entered. You also have the option of adding a link for shoppers to learn more details, and you can add an expiration date after which your special will automatically stop displaying on your property.
Special Text
The offer, deal, or special the property is currently running. Required to display the special banner on the property listing and search pages.
Special Link
If your special involves sending shoppers to another page, enter the entire URL for that page.
Special Expiration
The date on which the property’s special is no longer available. This is not displayed to shoppers. Once today’s current date is after the date you enter, the special banner will remove itself. If you do not enter a date, the special will show indefinitely.
Contact Form
Set a destination for the “Request Info” CTA for this property and its floor plans.
Contact Destination
Choose one of three options:
- Global Setting: will use the value set in the Contact Page URL option in RentPress settings.
- Specific URL: set any valid URL to send shoppers – on or off-site.
- Gravity Forms Shortcode: Enter a shortcode for a Gravity Form. This form will appear in a modal.

Social Profiles
Add links to social profiles to invite shoppers to connect with your property or management company on social networks.
Facebook URL
The full link to the Facebook page for the property.
Instagram URL
The full link to the Instagram page for the property.
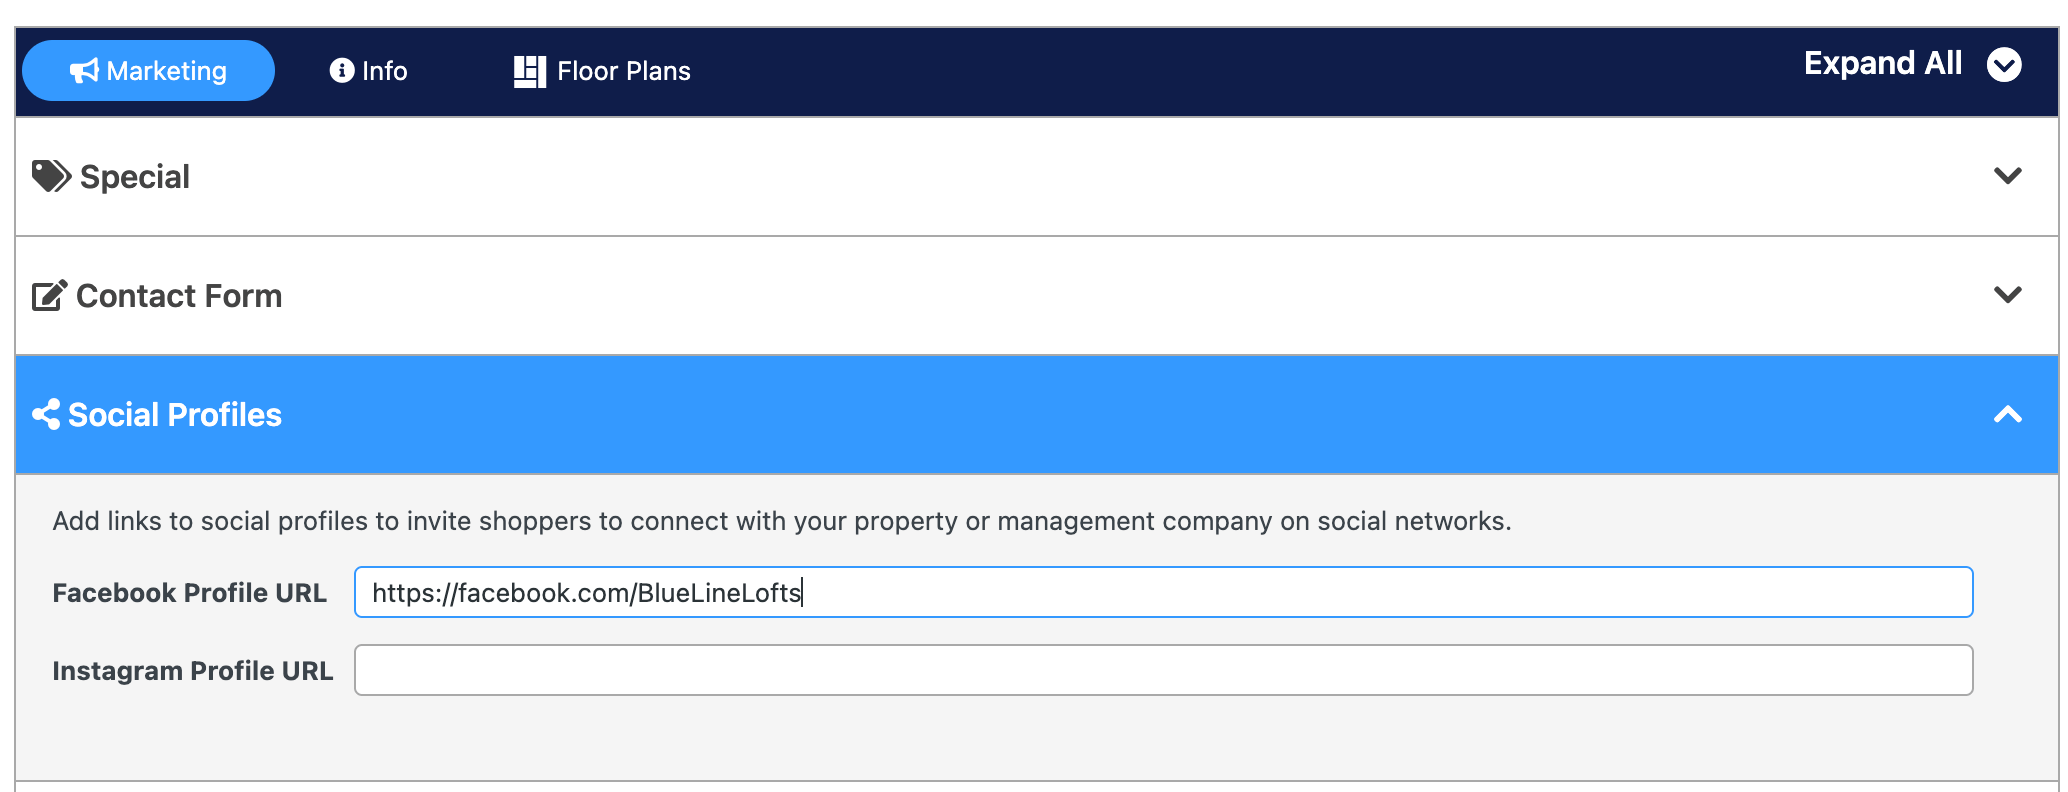
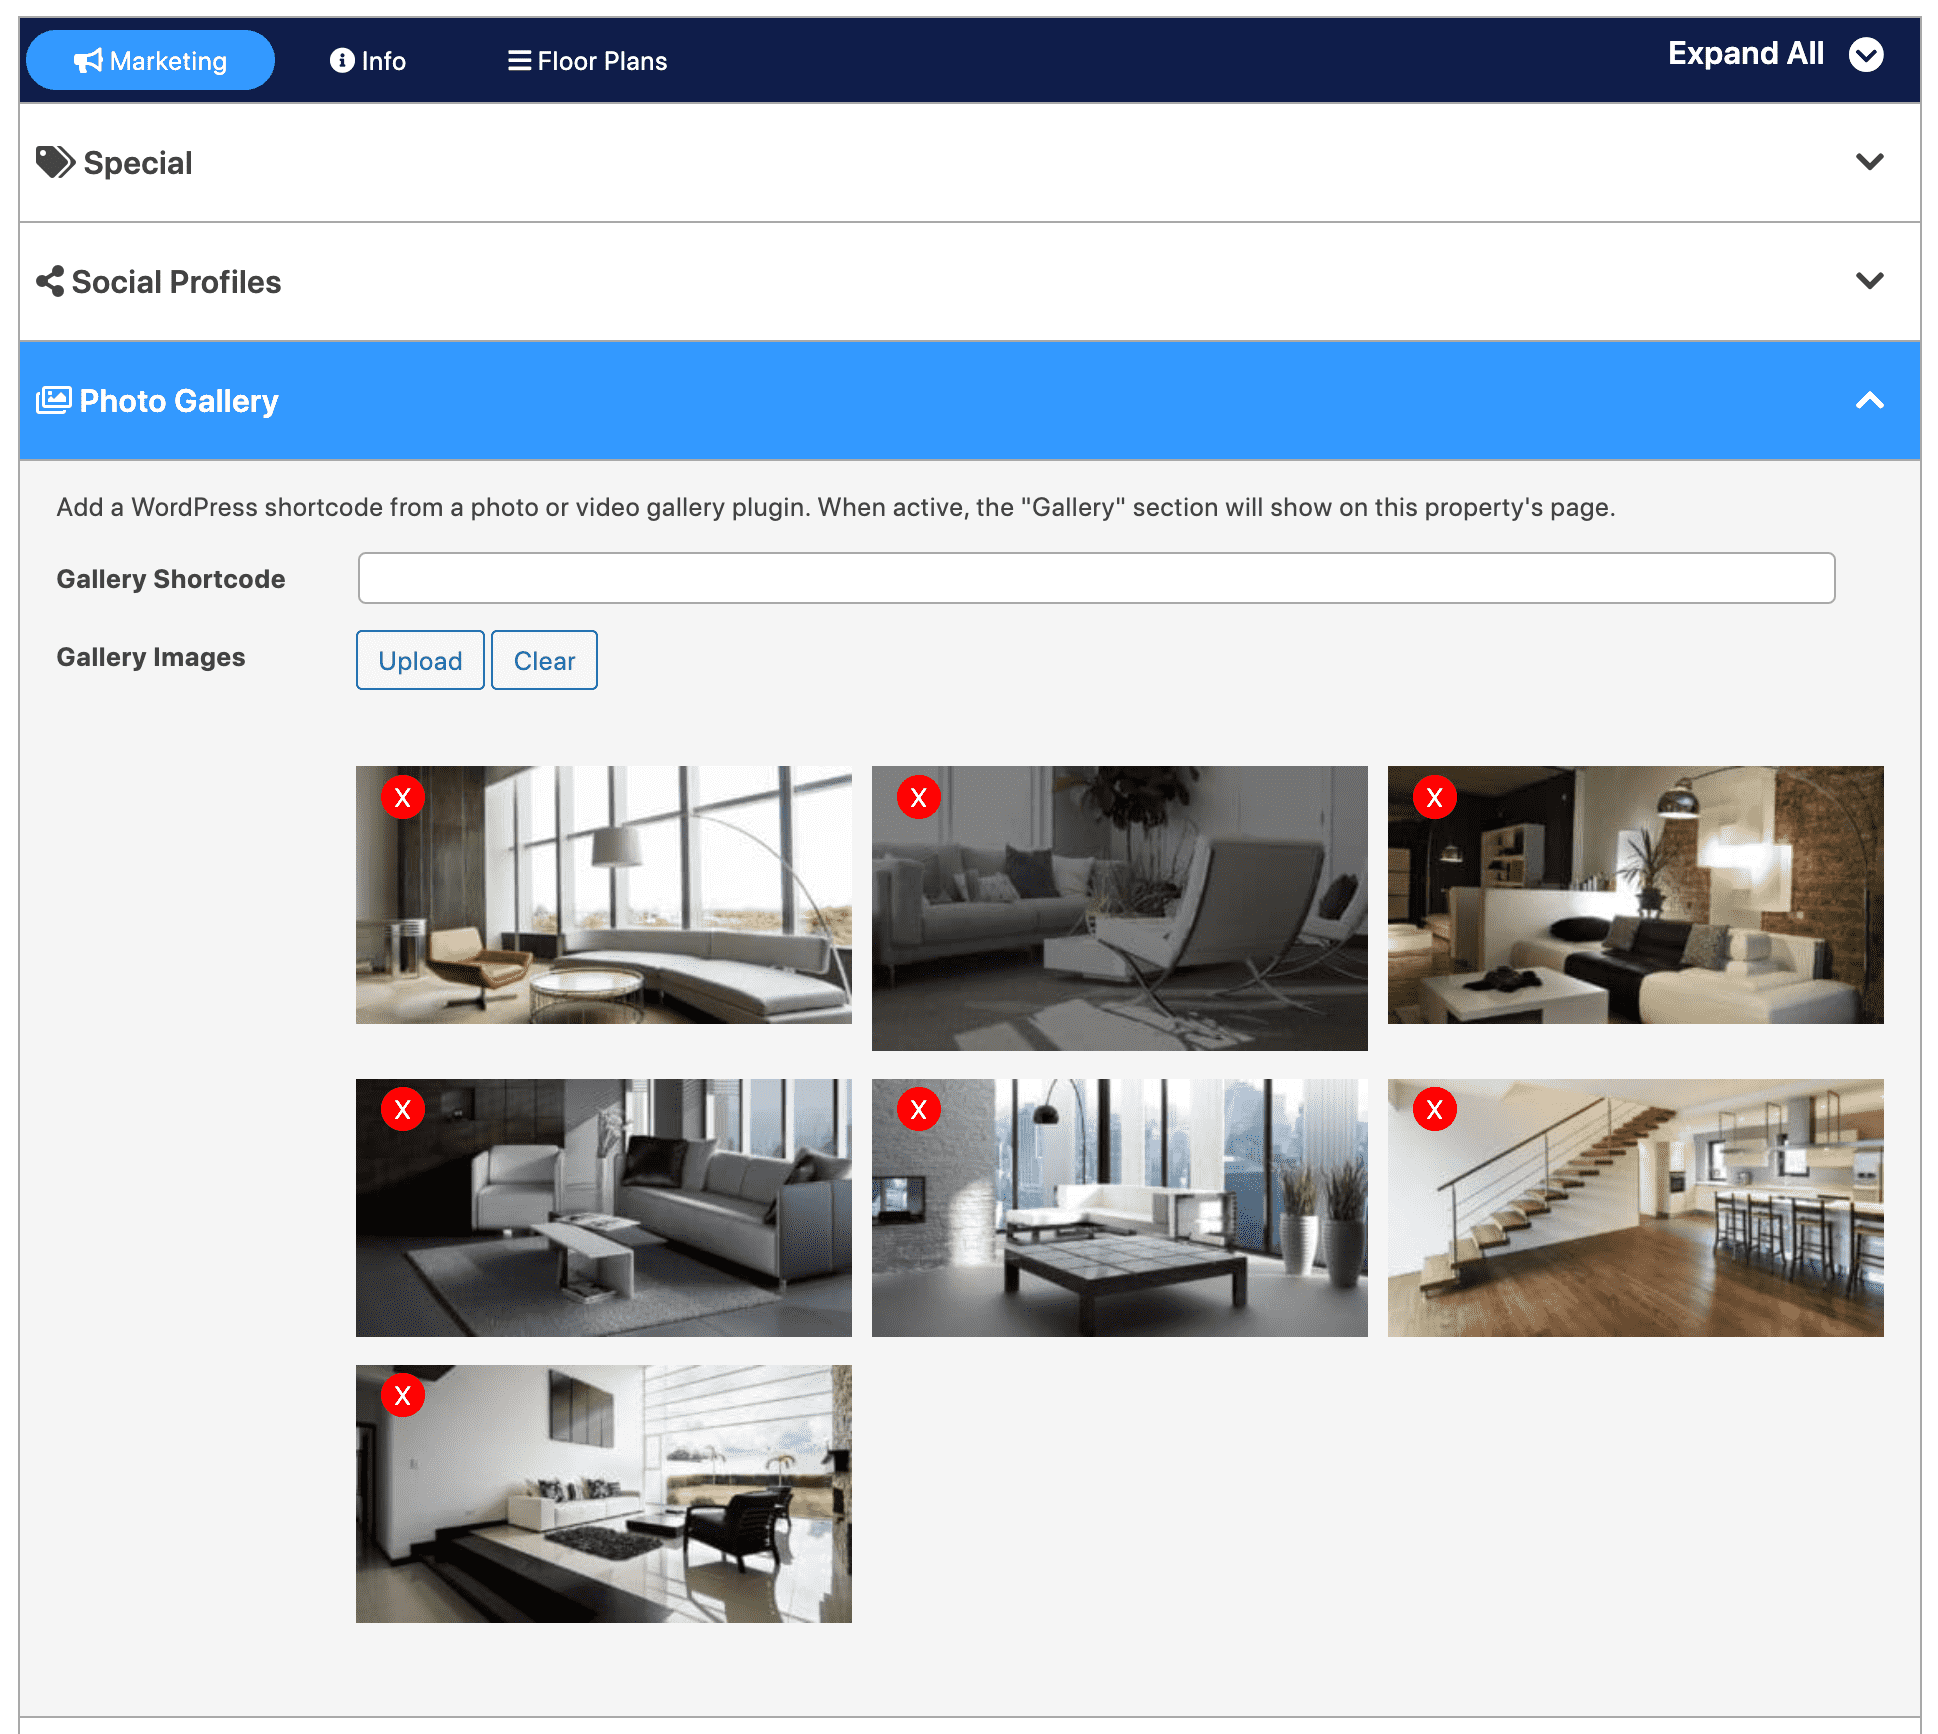
Photo Gallery
You can opt to upload photos of your property to display in a gallery, or add a photo gallery shortcode. Your site can have faster performance by using RentPress’s native photo functionality. We recommend increasing your Medium size image dimensions from the default 300×300 to 600×600 before uploading photos. When you use RentPress’s image upload functionality, the gallery shortcode will not be used.
Gallery Shortcode
Enter the shortcode for a photo gallery. This shortcode will be rendered in the “Gallery” section on the property listing.
Gallery Images
Click the Upload button to add images to the property. This will call up WordPress’s native image picker allowing you to select images for your gallery and order them. After you Save the property post, you’ll have the option to Clear all photos out of the gallery or remove individual photos.
Pet Policy Details
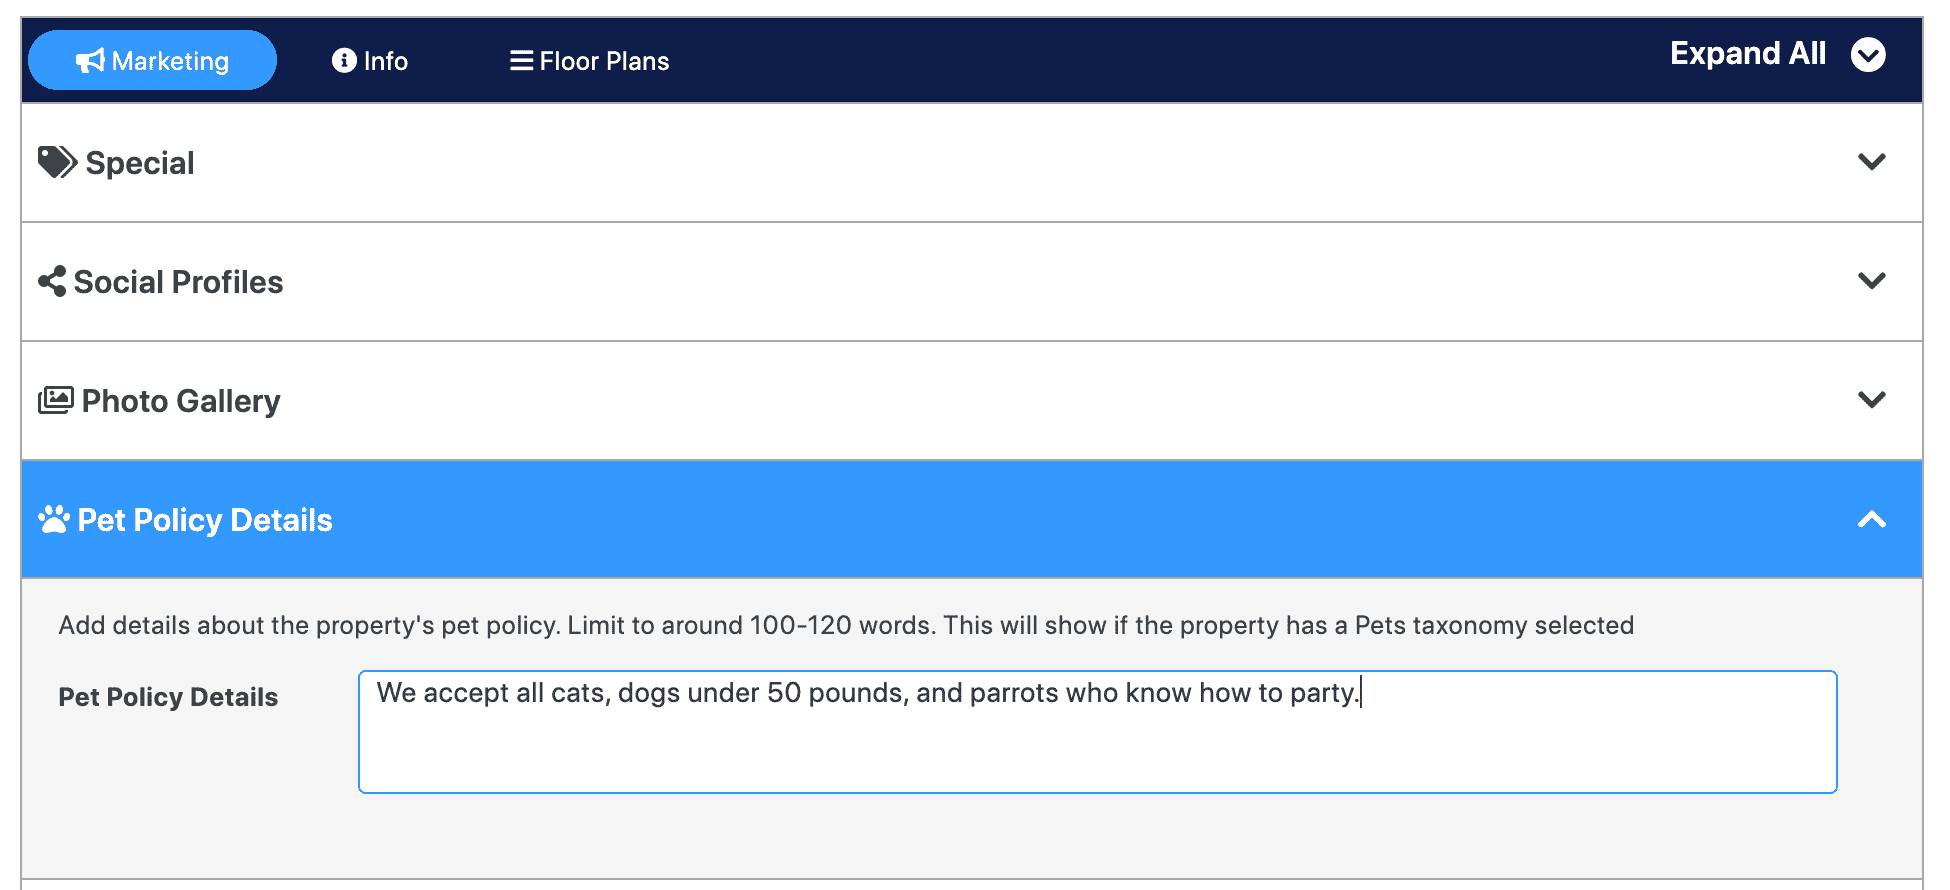
Add details about the property’s pet policy. Limit to around 100-120 words. This will show if the property has a Pet Policy taxonomy selected.
Pet Policy Details
Use this text field to add details about the property’s pet policy. This will be shown on the property listing in the “About This Property” section.
Neighborhood Details
Properties can exist within multiple neighborhoods.
First create your neighborhoods and assign properties into them. You can then choose to assign this property’s primary neighborhood. If no neighborhood is set as primary, the property’s city will be used.
Primary Neighborhood
Properties can exist within multiple neighborhoods. Select a Neighborhood from those that you have added this property into.
First create your neighborhoods and assign properties into them. You can then choose to assign this property’s primary neighborhood. If no neighborhood is set as primary, the property’s city will be displayed.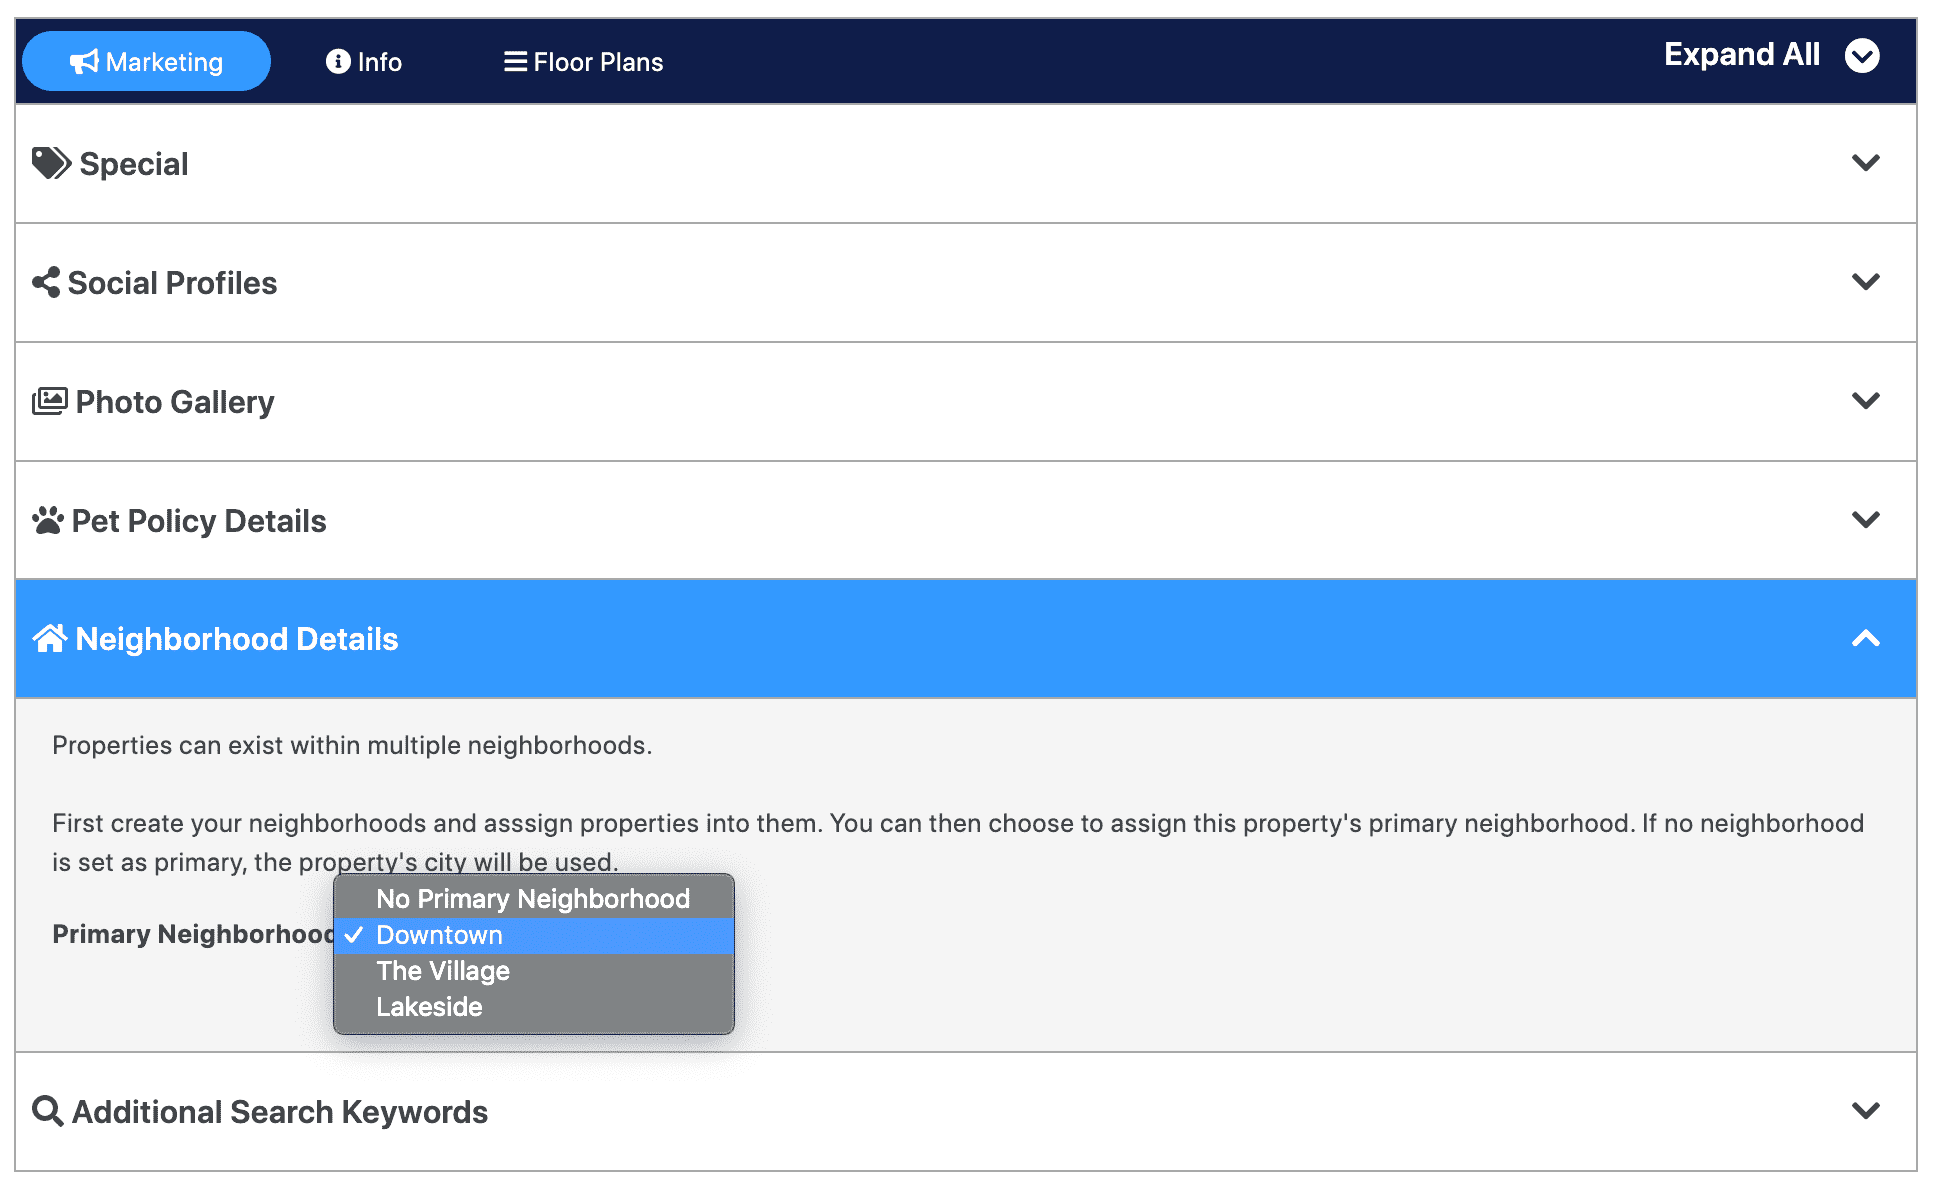 For more information, see Neighborhood Editor and Content Fields.
Additional Search Keywords
Add additional search keywords for this property. Keep each keyword separated by a comma. These keywords will be used in searches, but are otherwise not shown to shoppers.
Search Keywords
Use this field to add any arbitrary keywords for the property (example: a neighboring city). Use commas to separate out each keyword.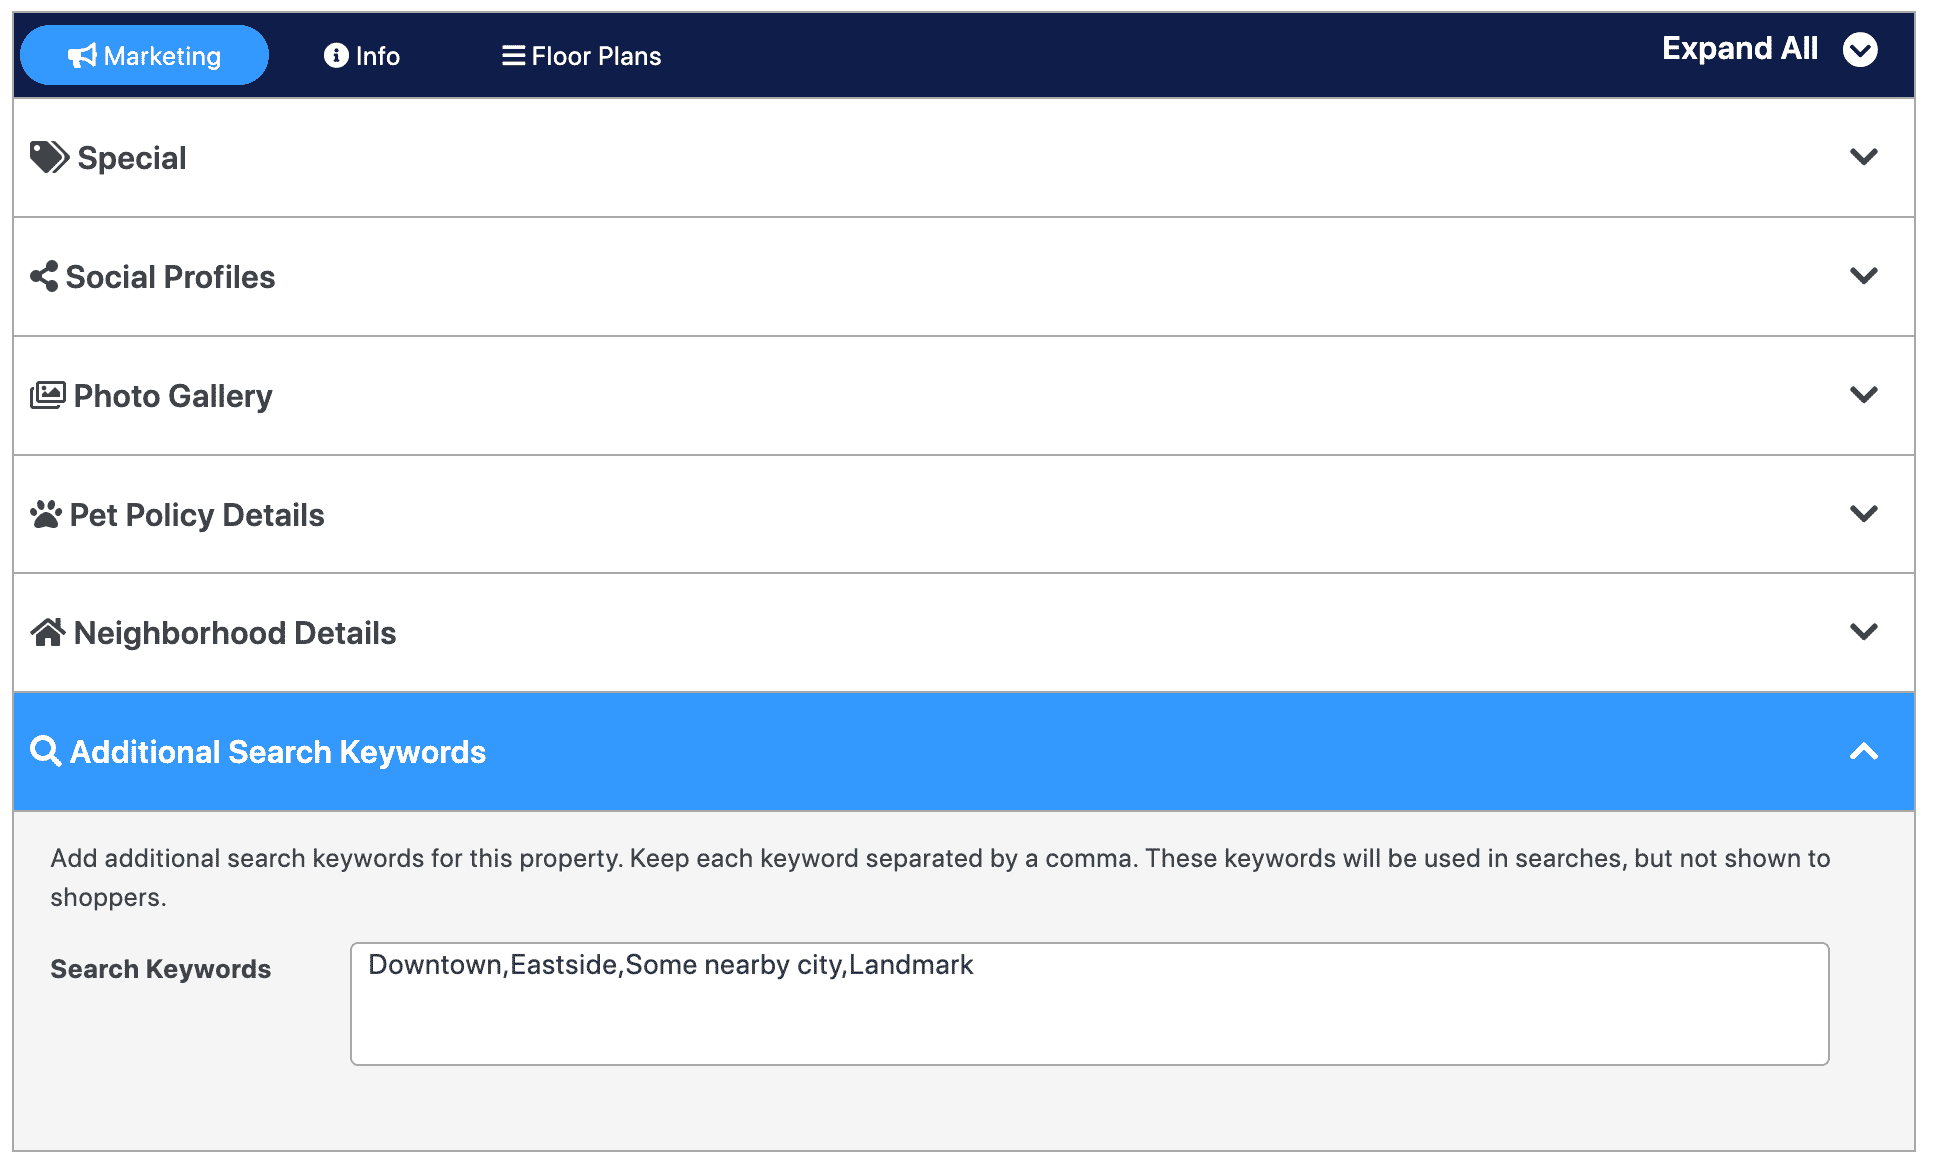
Info
Phone Number
Phone Number
The phone number for the property. This will be shown on the property listing and will be used to create a “Call Now” link. If you have a tracking number, enter it here. Must be only numbers, parentheses, periods, or dashes.

Property Description
Property Description
Romance copy about the property. Will be displayed in the “About Our Community” section. Limit of 1 paragraph.

Application Link
The URL to the property’s online application. If this field is empty, the “Default Application URL” from the settings page is used.
Apply Link
The URL where shoppers can start their application to the property.
Link Option
Choose “Default apply link” to have the Apply Link added to the property’s Apply Now CTA. Choose “Override every apply link” to to set the Apply Link as the target for every Apply Now button associated with this property including all floor plans and units.

Residents Link
Residents Link
The URL to the property’s Resident Portal. This will be used to display a “Residents” link on the property listing pages. If this field is empty, the link will not display. Many property data feeds do not include this link, so we recommend filling it out.

Email Address
Email Address
The email address for inquiries to the property. This will be shown on the property listing and let shoppers email the property directly.

Website
Website Address
The link for the property’s standalone website. A link will be shown on the property listing. Enter the entire URL.

Location
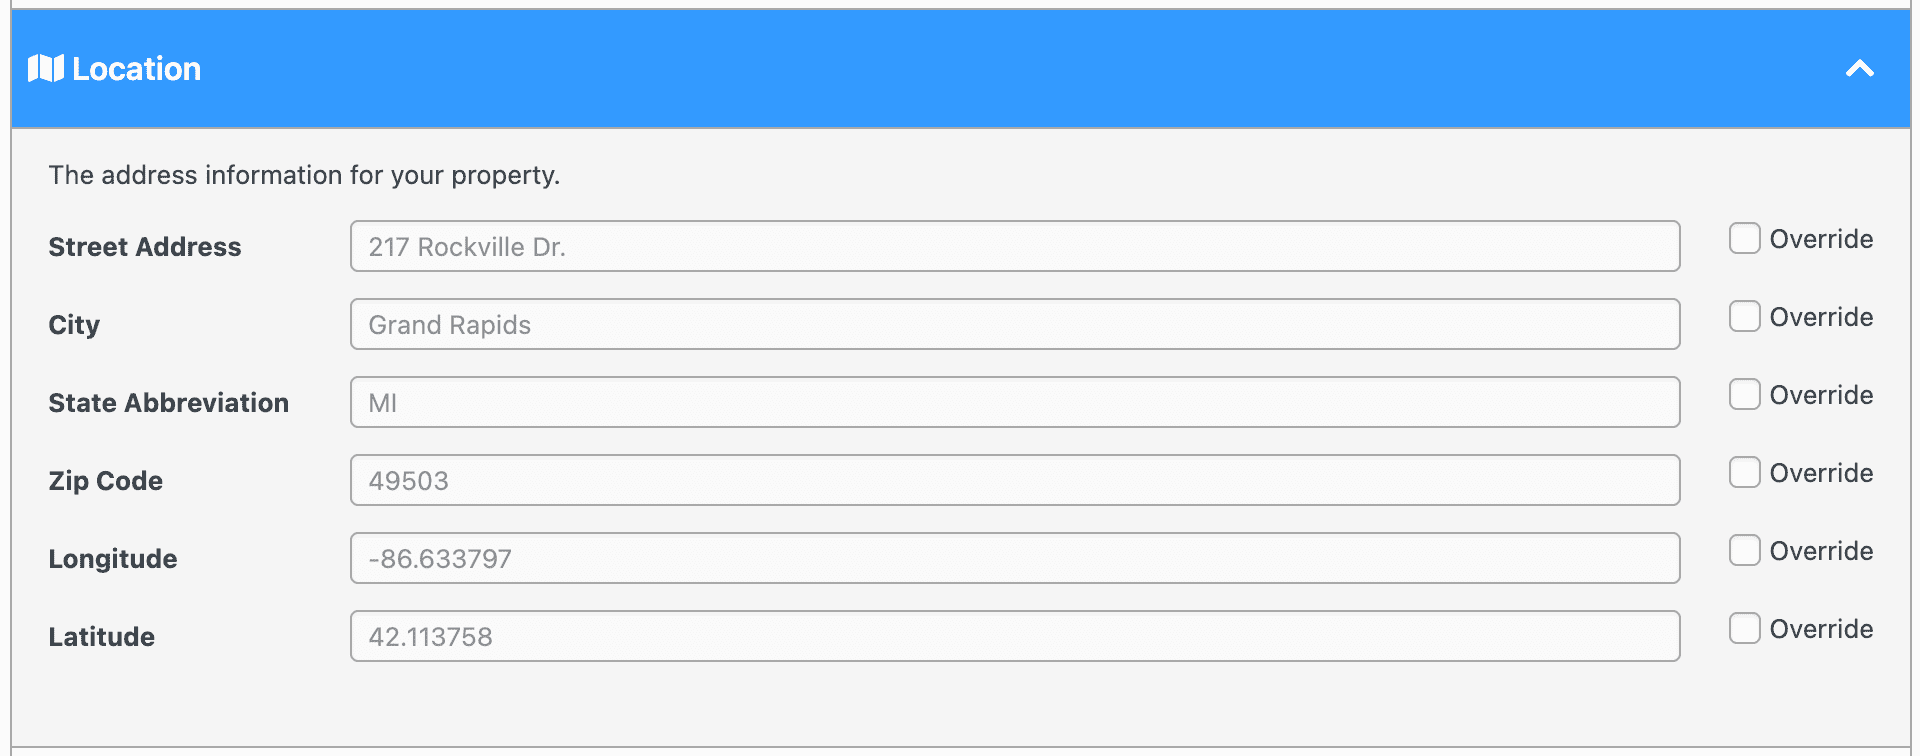
These fields are used to represent the location of the property. All fields are Required to show the property in search, on a map, and to use city pages.
Street Address
The number and street name (with any suffix) for your property. This will be shown on the property listing, and will be used to create a “Get Directions” link.
City
The city your property resides in. This will be shown on the property listing, and will be used to create a “Get Directions” link. This will also be used to add this property to a Cities taxonomy of this city.
State Abbreviation
The two-letter postal code representing the state your property resides in. This will be shown on the property listing, and will be used to create a “Get Directions” link.
Zip Code
The zip code for your property. This will be shown on the property listing, and will be used to create a “Get Directions” link.
Longitude
The longitude coordinate for the property.
Latitude
The latitude coordinate for the property.
If you need latitude longitude coordinates for your property you can use an online tool to convert from the address.
Office Hours
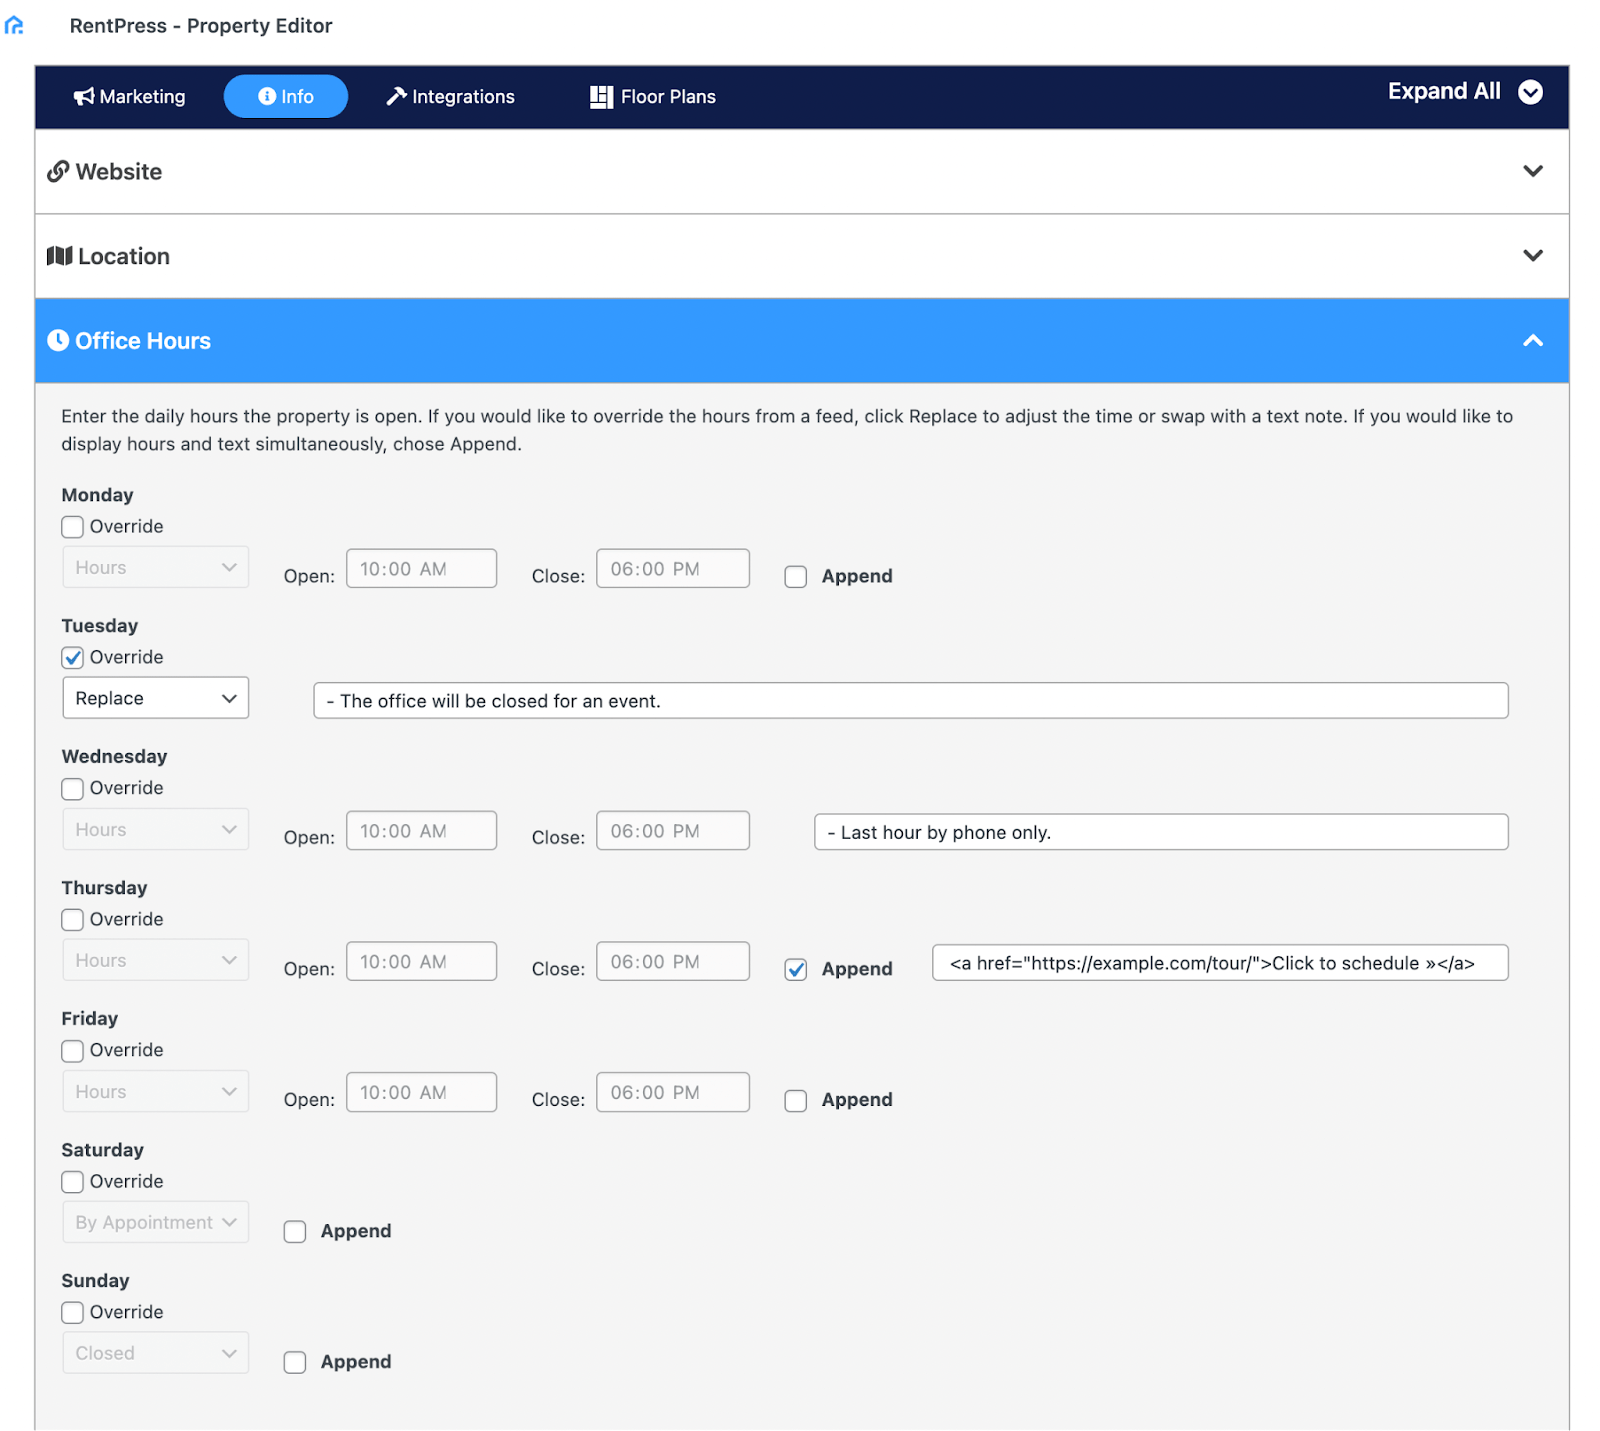
The daily hours that your property opens and closes. You can choose to override the open and close times on a per-day basis. If your data feed supports “Closed” or “By Appointment” for a given day, those will be imported as well. If you choose, you can override any day to be Closed or By Appointment. Finally, you can choose to replace or append any text for a day – including selected HTML.
Configuration
Configuration for the property data. You shouldn’t need to edit these if you are importing data from a feed.
Property Code
A unique identifying code for your property. Must be a unique string consisting of only numbers and/or letters. This field is Required for RentPress to connect your data.
Import Source
For properties connected via sync, this field will show its original import source (or property management software). This field is not used for a static property listing.

Pricing
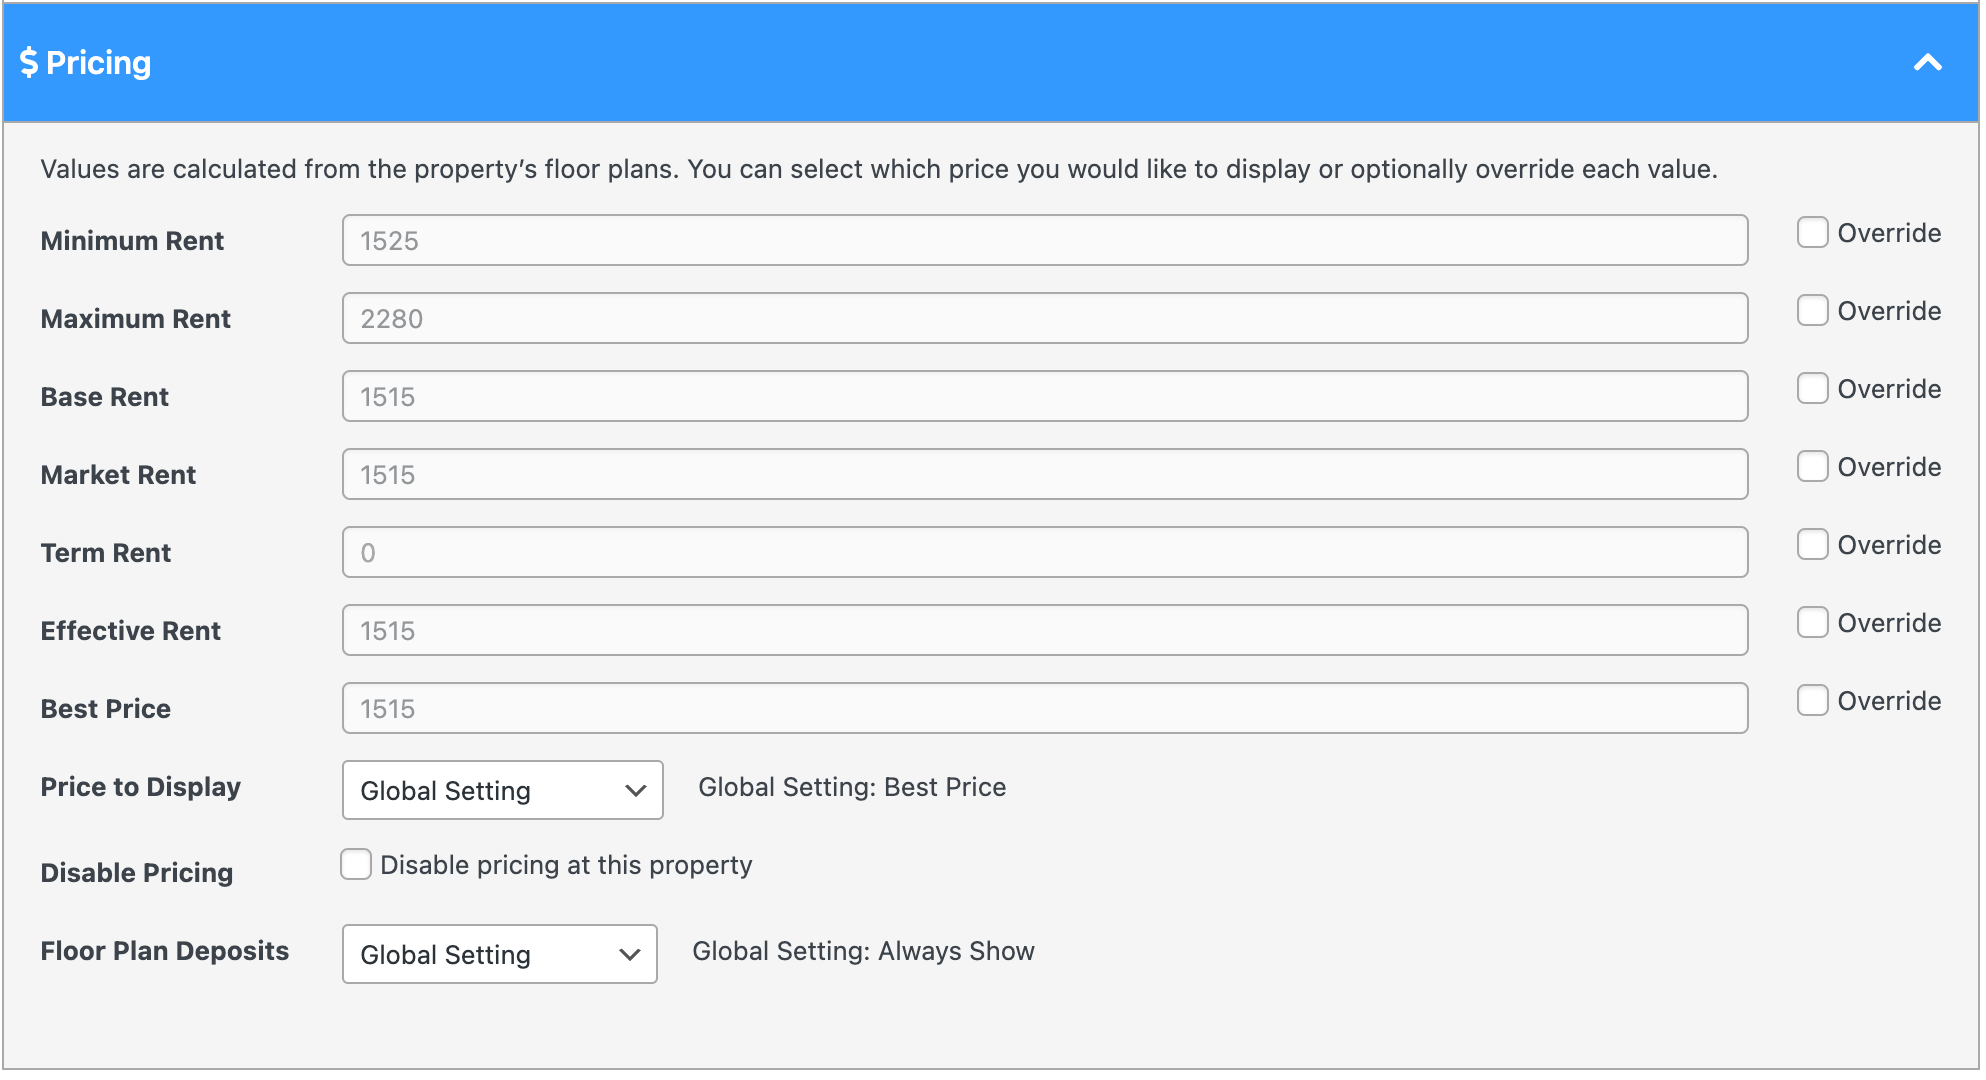
Lists out pricing values calculated from the property’s floor plans. You can select which one you would like to display or optionally override each value.
Price to Display
Choose an option here that represents what price style you want for this property. The default selection of “Global Setting” will use the selection from the Default Rent Price Display Type in RentPress’s Appearance settings. If you have “Global Setting” selected, that option will be displayed.
Otherwise, the selection here will use the value shown above.
Disable Pricing
Select this option if you’d like to disable displaying pricing at this property.
Floor Plan Deposits dropdown will let you choose how to display deposits for every floor plan at this property. When “Global Setting” is chosen, this property’s floor plans will follow the choice from the Deposit Settings in RentPress Appearance Settings. Deposit values can be adjusted at each floor plan in the Floor Plan Pricing Editor.
Floor Plans
Associated Floor Plans
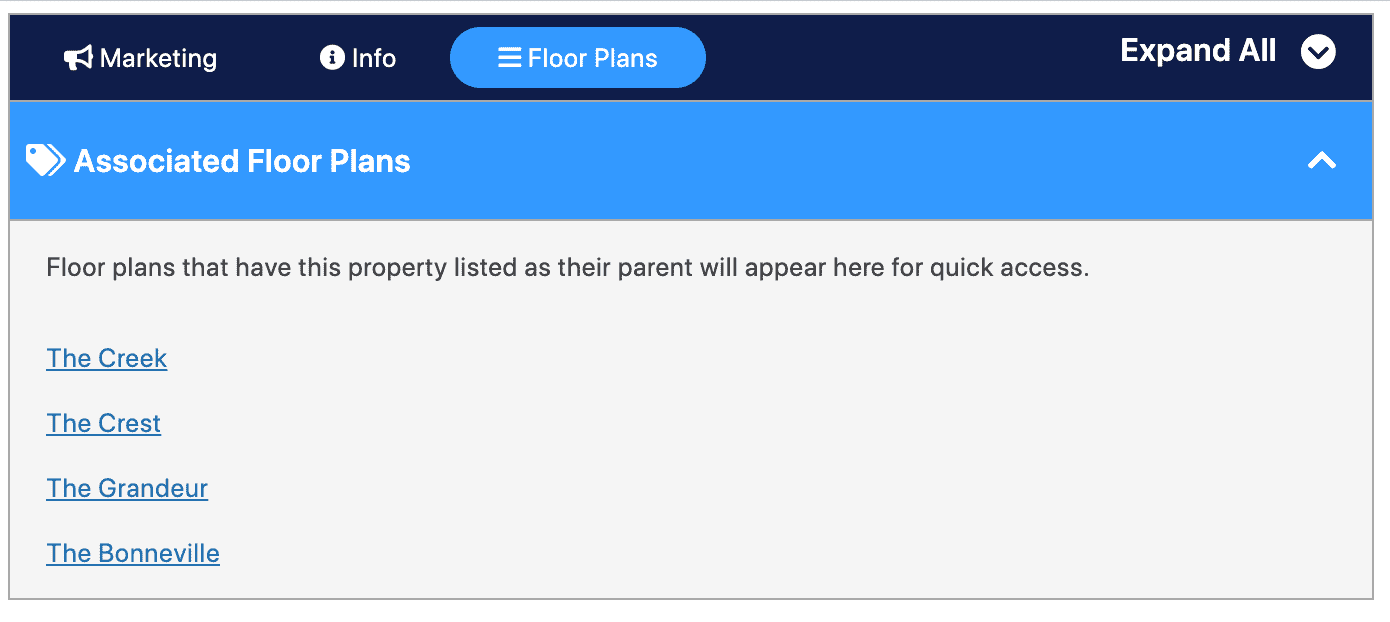
Floor plans that have this property listed as their parent (via property code) will appear here for quick access.
WordPress Post Data
Post Title
Property names are written into the post title when the property posts are created. Since WordPress requires every post to have a title, the automatic sync will never change it. However, this does mean that post titles can be changed on the website at any time.
This is great for situations where your property may have a name in the feed that’s based on accounting purposes but you want your property to have a different name for marketing reasons.
Post URL
Post URLs are written into the Permalink when the property posts are created. Since WordPress requires every post to have a permalink, that can’t be changed or removed by the automatic sync. However, this does mean that they can be edited at any time.
If you do choose to change the post’s Permalink on a live site, make sure you have redirects in place so that visitors and search engines don’t get lost.
Amenities
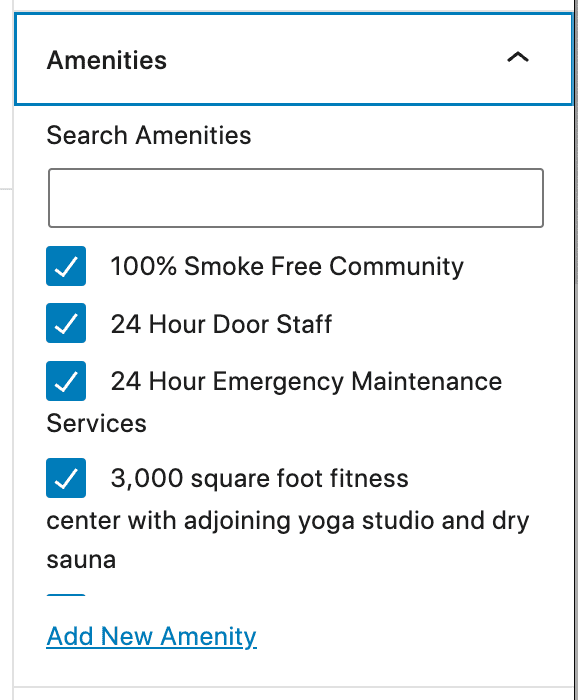
Amenities can be entered in the Amenities taxonomy selector and, when enabled, they will show up in the “Amenities & Features” section on the property and single floor plan pages. The property will also display on each corresponding Amenity pages.
If your synced property’s import source supports amenities, you do not need to manage this here.
Features
Property features can be entered in the Features taxonomy selector and, when enabled, they will show up in the “Amenities & Features” section on the property and single floor plan pages. The property will also display on each corresponding Feature pages.
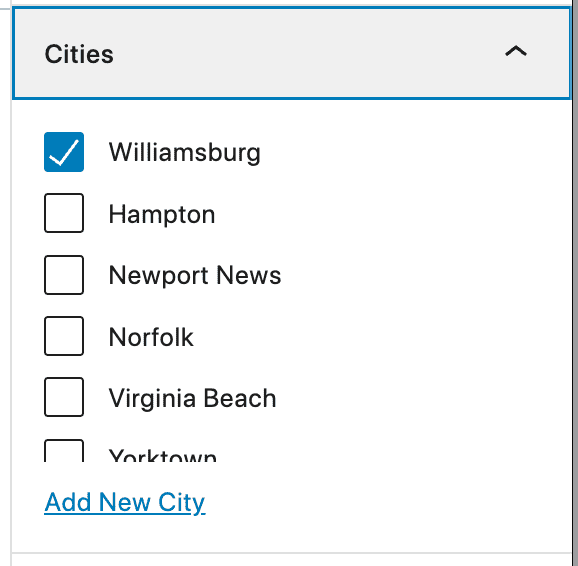
Cities
If your property is connected to sync, the city will be determined automatically from its address and you do not need to manage this.
Pet Policy
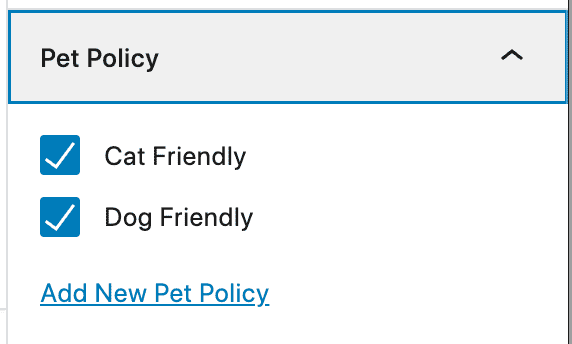
Use the Pet Policy taxonomy selector to note if the property is Cat Friendly and/or Dog Friendly by clicking the corresponding checkboxes. The property listing will show if the property is pet friendly, and the search page will support showing Cat / Dog friendly apartments. Additional pet policies are allowed, but are not supported with RentPress’ built-in templates. The property will also display on each corresponding Pet pages.
Property Types
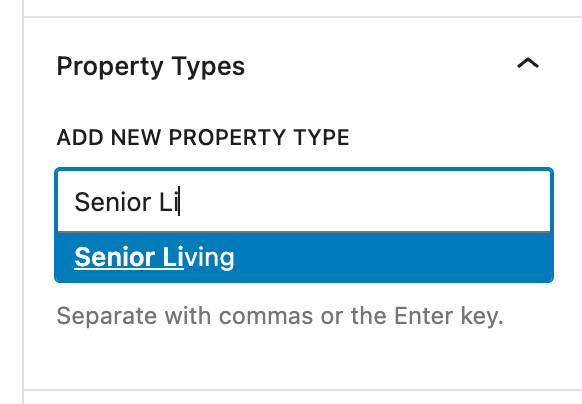
Property Types allows you to highlight what makes this property special. You can use this for any type you wish. Examples include “Student Housing,” “Senior Living,” or even “New Construction,” but you are free to add any type that makes sense for your portfolio like “Furnished” or “City View” or any community type you desire.
To mark a property as being a certain type, simply click the checkbox next to the type you want to assign to the property.
To add a new Property Type, click the + Add New Property Type button. A text field will appear for you to type in your community type. Then hit the Return key on your keyboard or click “Add New Property Type” below. Your new type will be automatically assigned to the property you are editing. Your Property Type will now be available to select on all other properties.
You can now uses these via the property_type parameter while building shortcodes.
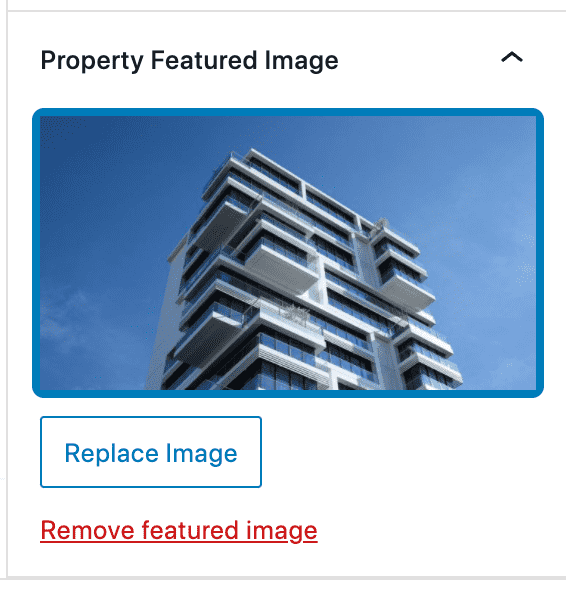
Property Featured Image
Assign a featured image to your property. This will be used as the main “hero” image on the property listing and as a thumbnail for the property on the search and taxonomy pages. If a featured image is not set, the property will display the image set in the Property Placeholder Image option of RentPress Settings
